No products in the cart.
Blog
Unlocking Style: The Ultimate Guide To Side Tie Shirts
Are you ready to elevate your fashion game and add a touch of flair to your wardrobe? Look no further than the trendy and versatile world of side tie shirts! Whether you’re a fashion enthusiast or just someone looking to spice up your everyday look, side tie shirts are the perfect choice for effortless style.
In this comprehensive guide, we’ll delve into the origins of side tie shirts, explore their various styles, and provide tips on how to incorporate them seamlessly into your outfits.
How To Side Tie Shirt Knot In 7 Different Ways
Embarking on a journey to elevate your fashion game and add a personalized touch to your wardrobe? Whether you’re aiming for a casual, laid-back look or a sophisticated and chic style, we’ve got you covered with 7 distinct ways to tie a shirt knot.
Get ready to explore the world of creativity and self-expression as we break down each knotting method, providing step-by-step instructions to help you master the art of shirt knotting like a true fashion maven. Let’s knot around and discover how a simple twist can make a significant impact on your style!
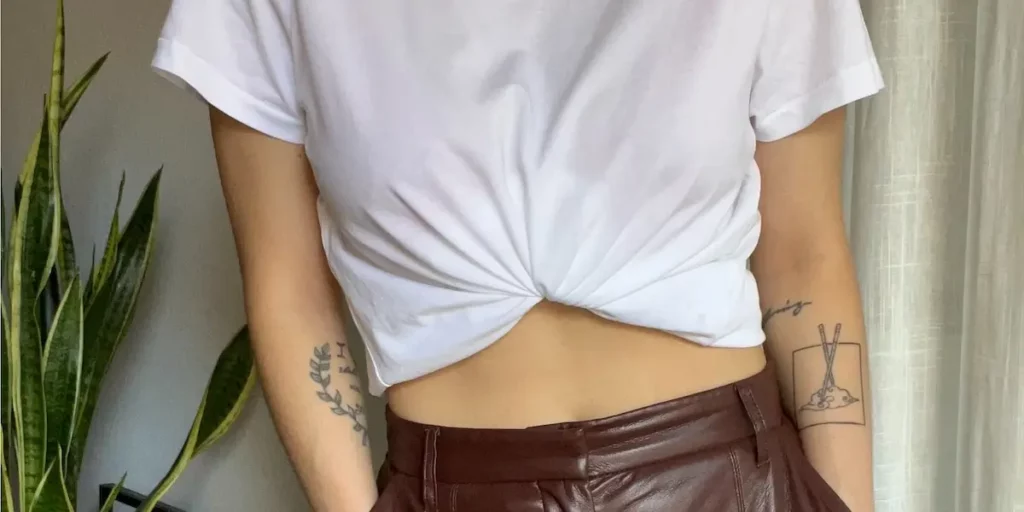
Front Knot
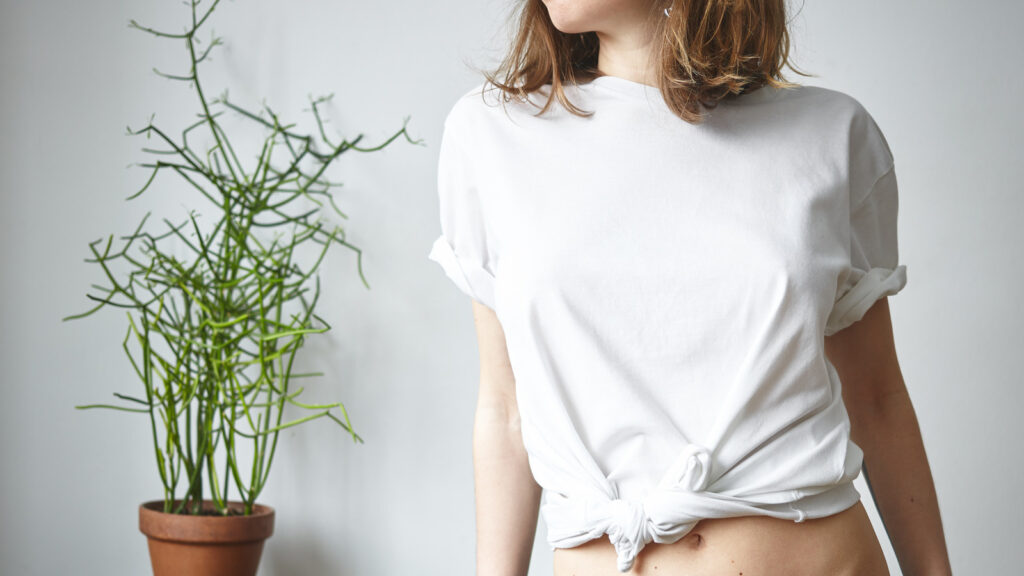
1. Select the Right Shirt:
Choose a shirt with sufficient length and a loose fit for a comfortable and stylish knot. T-shirts, button-downs, or blouses work well for this style.
2. Button Down (Optional):
If your shirt has buttons, you may choose to leave a few buttons undone from the bottom to create a more relaxed and casual vibe.
3. Gather Fabric:
Hold the two front ends of the shirt together at your natural waist or slightly above, depending on your preference for the knot’s placement.
4. Create a Loop:
With both ends in hand, form a loop by crossing the right side over the left. Ensure the loop is tight but not too constricting.
5. Pull Through:
Take the right end and pull it through the loop you created. This will result in a knot at the front of your shirt.
6. Adjust the Knot:
Customize the tightness of the knot and the length of the remaining ends according to your style preference. You can leave the ends hanging for a carefree look or tuck them in for a neater appearance.
7. Fluff and Arrange:
After tying the front knot, fluff out the fabric around the knot to give it a relaxed and effortlessly chic appearance.
Back Knot
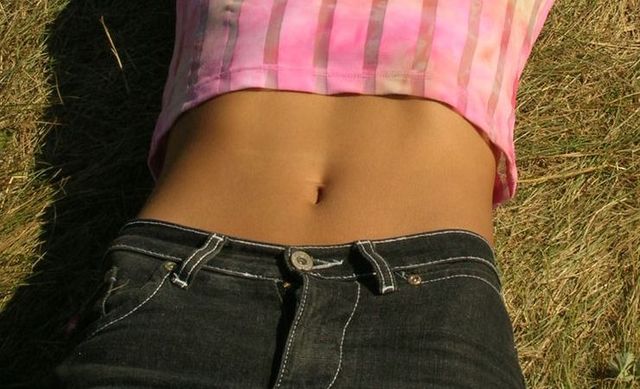
1. Fold Up the Front:
Begin by folding up the front of your T-shirt. This step is crucial as it sets the foundation for the back knot and ensures the shirt appears tighter and more fitted in the front.
2. Grab a Section of Fabric in the Back:
Turn the shirt around and grab a section of fabric in the back. This section should be located at your natural waist or slightly above, depending on your preferred knot placement.
3. Twist into a Spiral:
Take the grabbed section of fabric and twist it into a spiral. This twisting motion will add a stylish element to the knot.
4. Wrap the Spiral Around Itself:
Continue wrapping the twisted section around itself, creating a compact spiral or ball shape at the back of your shirt.
5. Pull the End Through the Hole:
Once you’ve wrapped the spiral, leave a small hole at the center. Pull the end piece of the fabric through this hole, securing the knot.
6. Adjust as Needed:
Adjust the tightness of the knot and the placement according to your preference. Ensure that the knot sits comfortably on your back and complements the folded front.
7. Fluff and Arrange:
After securing the knot, fluff out the fabric around it to achieve a relaxed and effortless appearance.
8. Secure the Knot (Optional):
If desired, you can secure the knot further by using a discreet safety pin or tucking the loose end under the knot.
By following these steps, you can effortlessly create a back knot on your side-tie shirt, achieving a stylish and fitted look in the front while adding a unique twist at the back. Whether you’re aiming for a casual day out or a fashion-forward statement, this back knot technique offers a versatile and chic option for your wardrobe.
Two Side Knots
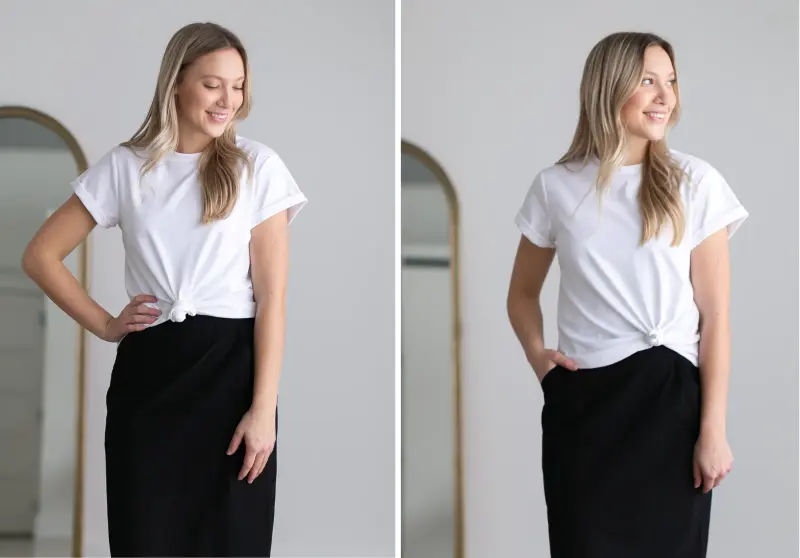
1. Separate the Shirt into Two:
Begin by dividing the shirt into two equal sections, creating a left and right side.
2. Create Knots on Both Sides:
Following the steps for the front knot, initiate a knot on both sides of the shirt. Aim to position the knots in your midsection or higher for a cropped look that’s perfect for the summer.
3. Twist the Section into a Spiral:
For each side, take the section of fabric designated for the knot and twist it into a spiral. This twisting action adds a stylish and textured element to the knots.
4. Wrap Around the Ball:
Continue by wrapping the twisted section around itself, forming a compact spiral or ball shape.
5. Pull the End Through:
Once you’ve created the ball shape, leave a small hole at the center and pull the end piece of the fabric through this hole, securing the double knot.
6. Adjust for Symmetry:
Ensure that the knots on both sides are symmetrical and positioned to your liking. Adjust the tightness and placement to achieve a balanced and fashionable look.
7. Fluff and Arrange:
After securing both back knots, fluff out the fabric around them to create a relaxed and stylish appearance.
8. Summer-Ready Cropped Look:
Embrace the summer vibes with this double back knot style. The midsection or higher placement of the knots creates a cropped look that’s not only trendy but also perfect for warmer weather.
Pretzel Knot

1. Grab Both Sides of the Shirt:
Start by holding both sides of your shirt, ensuring you have a good grip on the fabric.
2. Pull the Sides to the Front:
Bring both sides of the shirt to the front, gathering the fabric at your natural waist or slightly above.
3. Create a Basic Knot:
Follow the steps for creating a basic knot:
- Cross one end of the shirt over the other.
- Insert one end of the shirt into the loop or hole created by the crossover.
- Pull both ends in opposite directions to tighten the knot.
4. Tuck the Ends In:
After creating the basic knot, tuck the loose ends into the shirt for a cleaner look. Ensure that the ends are not sticking out, giving the knot a more polished appearance.
5. Shape it into a Pretzel:
With the basic knot in place, manipulate the knot by twisting and shaping it to resemble a pretzel. Play around with the loops and twists until you achieve the desired pretzel-like shape.
6. Adjust for Style:
Fine-tune the tightness and positioning of the knot based on your style preference. You can create a looser, relaxed pretzel knot or a tighter, more defined one.
7. Final Touch:
Ensure that the pretzel knot sits comfortably at your midsection and adds the desired “oomph” to your shirt. Make any last-minute adjustments to perfect the look.
8. Rock the Long-Sleeved Look:
The pretzel knot works exceptionally well with long-sleeved shirts, adding a touch of creativity and style to your outfit. This knot is versatile and can elevate different types of shirts with ease.
Side Knot

1. Focus on the Side of Your Shirt:
Identify the desired location on the side of your waist where you’d like to create the knot. This positioning is flexible, allowing you to choose whether you want the knot to be higher or lower.
2. Create a Basic Knot:
Follow the basic knot instructions:
- Cross one end of the shirt over the other.
- Insert one end of the shirt into the loop or hole created by the crossover.
- Pull both ends in opposite directions to tighten the knot.
3. Twist into a Spiral:
Similar to the spiral method used for the front and back knots, grab a section of your shirt’s fabric on the side and twist it into a spiral. This twisting action adds a unique and stylish element to the side knot.
4. Wrap the Spiral Around Itself:
Continue by wrapping the twisted section around itself, forming a compact spiral or ball shape on the side of your shirt.
5. Pull the End Through:
Once the spiral is formed, leave a small hole at the center and pull the end piece of the fabric through this hole, securing the side knot.
6. Adjust the Knot’s Placement:
Decide whether you want the side knot to sit higher or lower on your waist. Adjust the placement accordingly for a customized look.
7. Fine-Tune for Style:
Fine-tune the tightness of the knot and the overall appearance to suit your style preferences. This knot can be as subtle or as pronounced as you’d like.
8. Versatile Side Knot:
The beauty of the side knot lies in its versatility. It adds a touch of creativity and asymmetry to your side-tie shirt, allowing you to experiment with different placements and styles.
A Simple Knot and Scarf

1. Choose a Decorative Scarf:
Start by selecting a decorative scarf that compliments your shirt and adds a touch of style. This could be a scarf with vibrant colors, interesting patterns, or unique textures.
2. Create a Simple Side Knot:
Follow the initial knot instructions for creating a basic knot on the side of your shirt:
- Cross one end of the shirt over the other.
- Insert one end of the shirt into the loop or hole created by the crossover.
- Pull both ends in opposite directions to tighten the knot.
3. Wrap the Decorative Scarf:
Once you’ve tied the simple side knot, take the decorative scarf and wrap it around the knot. Begin by placing the middle of the scarf against the knot, with the loose ends hanging down.
4. Cross and Wrap:
Cross the loose ends of the scarf over the front of the knot, then bring them around to the back. Continue wrapping the scarf around the knot, covering the initial knot with the decorative fabric.
5. Secure the Ends:
Once you’ve wrapped the scarf around the knot to your satisfaction, secure the loose ends by tucking them under the wrapped layers. Ensure that the ends are neatly tucked for a polished look.
6. Adjust for Style:
Fine-tune the positioning and tightness of both the knot and the scarf to achieve your desired style. You can create a snug, well-defined knot or opt for a more relaxed and casual look.
7. Showcase the Boost of Color:
Let the decorative scarf shine as it adds a burst of color and visual interest to your side-tie shirt. Experiment with different scarves to create various looks that suit your mood and occasion.
Button-Down Shirt Knot
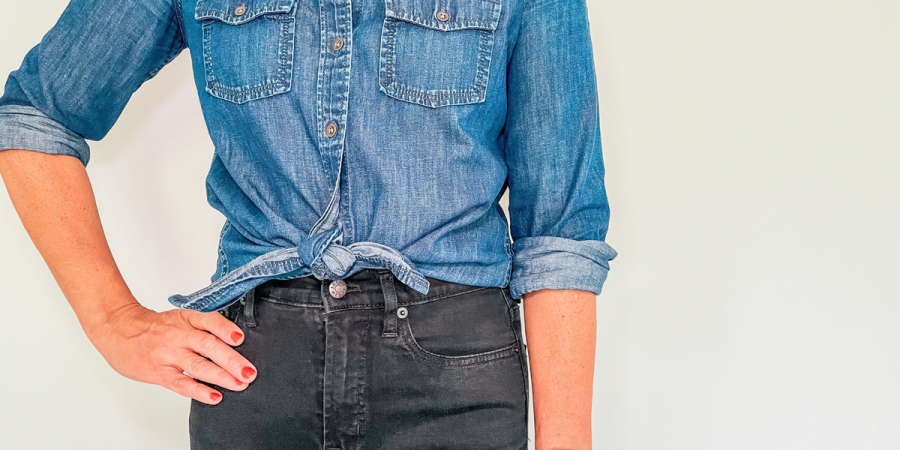
1. Button Your Shirt But Leave the Ends Out:
Begin by buttoning your shirt all the way up, leaving the two ends hanging out. This creates a stylish foundation for the side knot.
2. Create a Basic Knot:
Follow the basic knot instructions for creating a knot on the side of your button-down shirt:
Cross one end of the shirt over the other.
Insert one end of the shirt into the loop or hole created by the crossover.
Pull both ends in opposite directions to tighten the knot.
3. Adjust the Tightness:
Fine-tune the tightness of the knot to your liking. Ensure that it’s snug enough to stay in place but not too tight to restrict movement or comfort.
4. Leave the Ends Out for Style:
Embrace the casual and relaxed vibe by leaving the ends of the shirt out. This not only adds a touch of flair but also complements the buttoned-up look.
5. Showcase the Buttoned Details:
Let the buttoned details of your shirt shine through by leaving a few buttons undone at the top. This draws attention to the knot and adds a touch of sophistication.
6. Roll Up Sleeves (Optional):
For a more laid-back and weather-appropriate look, consider rolling up the sleeves of your long-sleeve shirt. This adds a relaxed and stylish element to the overall appearance.
7. Pair with Accessories:
Consider accessorizing with a complementary scarf or statement jewelry to elevate the ensemble. Accessories can add an extra layer of style to your button-down shirt knot.
Conclusion
In conclusion, the side-tie shirt proves to be a versatile and fashionable addition to any wardrobe, offering endless possibilities for creative styling. Whether you prefer the simplicity of a basic knot, the asymmetry of a side knot, or the decorative flair of a scarf-enhanced tie, this trendy garment allows you to express your personal style with ease. So, embrace the knot, experiment with different techniques, and let the side-tie shirt become your go-to fashion statement, adding a playful twist to your everyday style.


